Bokeh, the artistic blur in photography, is a dazzling way to make your subject stand out. However, achieving this effect can be challenging for beginners.

In this post, we’re going to demystify bokeh, offering you seven practical tips to create stunning bokeh in your photos. Ready to add some magic to your photographs? Let’s dive in!
Understanding Bokeh
Bokeh is a term derived from the Japanese word “boke”, which translates to “blur” or “haze”. It refers to the aesthetic quality of the out-of-focus areas in a photo.
Contrary to common misconceptions, bokeh isn’t simply about blurry backgrounds or foregrounds. It’s about the quality and artistic appeal of the blur.
Bokeh can manifest as circular or polygonal shapes created by blurred points of light, such as street lights at night. Alternatively, it can also appear as soft, hazy backgrounds often seen in portraits or macro photography.


What Makes Good Bokeh?
Good bokeh enhances the aesthetics of an image. It produces smooth transitions between the sharp and out-of-focus parts of an image, creating a creamy, dreamy effect that highlights the subject and adds an artistic feel to the shot.
Conversely, bad bokeh, often produced by low-quality lenses, can be distracting and unappealing.
Achieving beautiful bokeh involves using a high-quality lens, understanding depth of field, and, of course, a touch of creativity!

Choosing the Right Lens for Bokeh
Prime lenses usually offer better image quality and wider apertures than zoom lenses. They are lightweight, making them easy to control and carry around. A classic 50mm f/1.8 lens is an excellent, affordable choice for beginners.
If your budget allows, consider investing in a lens with a large number of diaphragm blades. Lenses with 8-9 rounded blades can produce circular, soft, out-of-focus highlights— resulting in better bokeh.
Understanding Depth of Field in Bokeh Photography
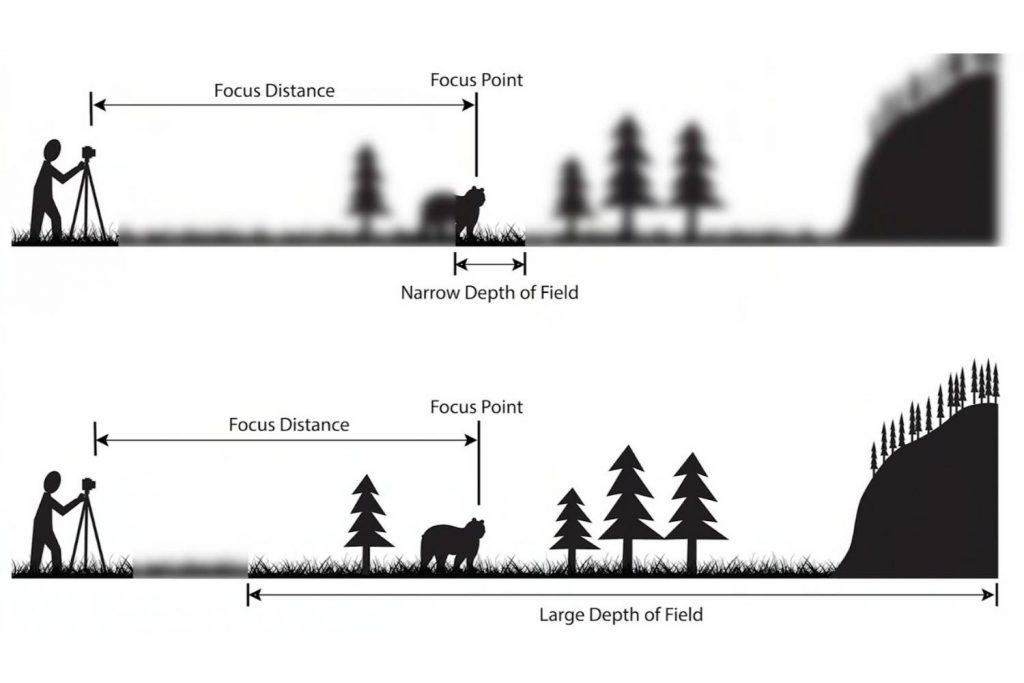
Mastering bokeh involves understanding and manipulating depth of field (DoF). In simple terms, depth of field refers to the area of a photo that appears sharp and clear. For bokeh photography, we aim for a shallow depth of field, focusing on the subject and making everything else in the shot as blurry as possible.
- To achieve a shallow depth of field, remember these principles:
- Wide apertures create less depth of field, which accentuates your focal point and increases blur.
- A lens with a longer focal length produces a shallow depth of field.
- The closer you are to the subject, the blurrier the background becomes.
- Full-frame sensors are great for capturing silky background bokeh.
7 Photography Bokeh Tips

Now that we’ve covered the basics, let’s explore seven practical ways to create beautiful bokeh:
1. Use a Wide Aperture
Shooting with a wide aperture, such as f/1.8 or f/1.4, is the easiest way to achieve bokeh. Remember to use live view mode and manual focus for better accuracy.
2. Shoot with a Long Focal Length
If your camera has an APS-C sensor, anything from 50mm and beyond will be great for creating bokeh effects.
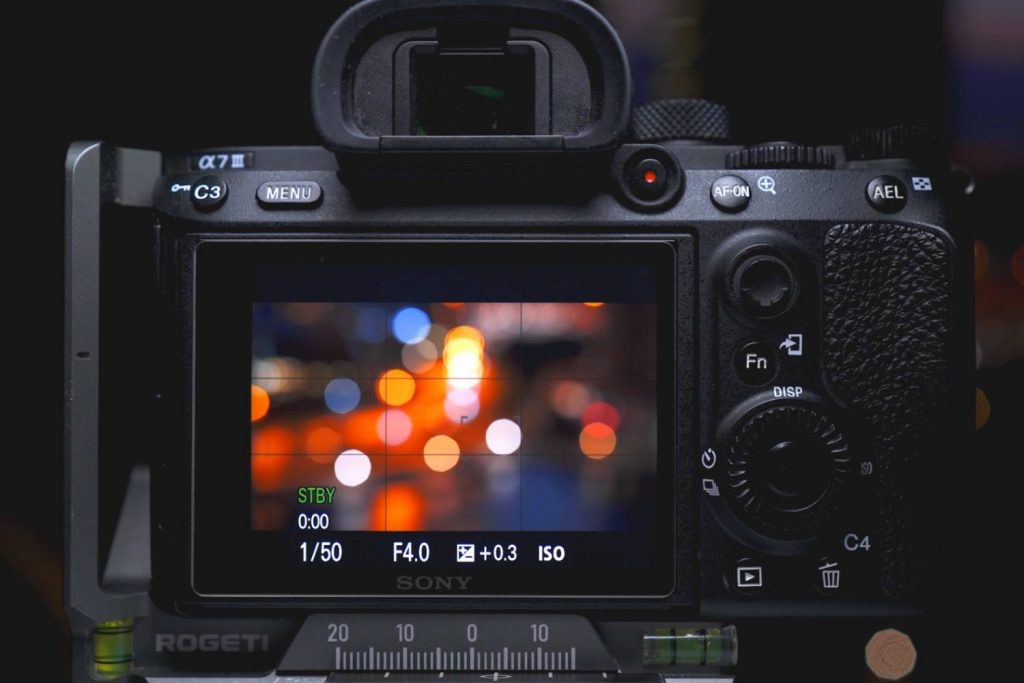
3. Use Aperture Priority Mode
This mode lets you set the aperture while the camera automatically adjusts the shutter speed and ISO.
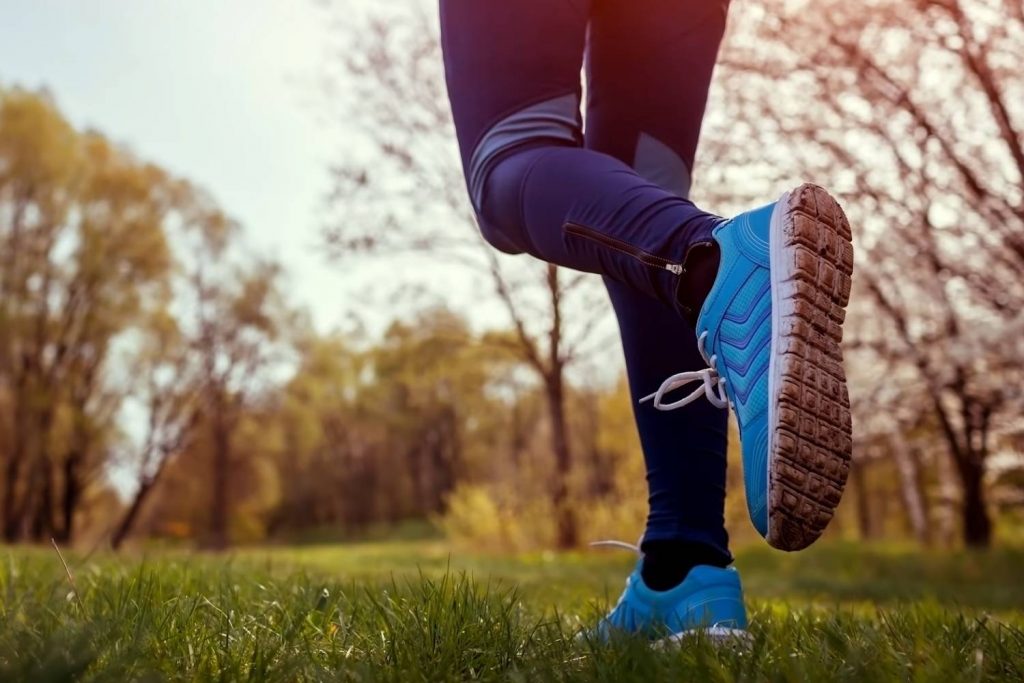
4. Create Distance Between the Subject and Background
To maximize the bokeh effect, try to separate the subject as much as possible from the background.
5. Choose an Interesting Background
The right background can make your bokeh effect more striking. Consider using street lights, candles, Christmas lights, bushes, flowers, or sunlight filtered through trees.
6. Don’t Forget About the Foreground
Including out-of-focus elements in the foreground can add a sense of depth to a photo.
7. Get Creative with Colors, Shapes, and Light Sources
Try adding reflective objects, using fairy lights, or creating custom bokeh shapes with a DIY lens filter.
Can You Add a Bokeh Background in Editing?
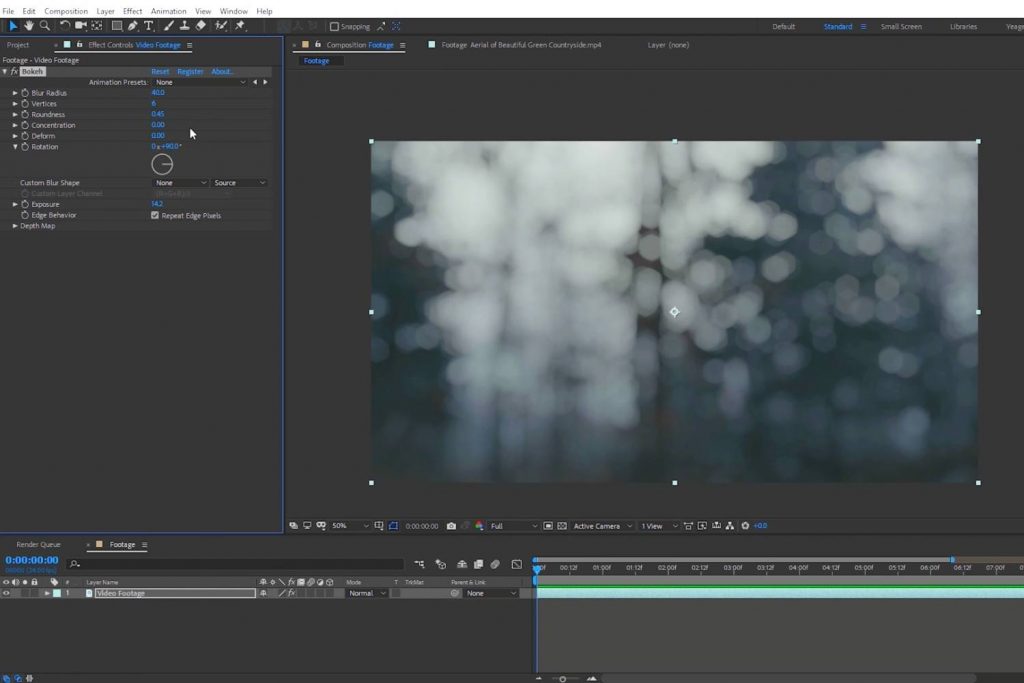
Yes, you can add a bokeh effect in post-processing using photo editing software like Photoshop or Luminar NEO. However, achieving bokeh in-camera is always the best approach.
Final Thoughts
Bokeh photography allows for creativity and fun while adding a touch of artistry to your images. Like all photographic techniques, practice is key to mastering bokeh. So, grab your camera, and start experimenting today!
Thank you for reading! If you enjoyed this article, check out our blog for more photography tips and tricks.