If the term ‘histogram’ immediately conjures up images of a complex graph that’s hard to decipher, you’re not alone. However, this powerful tool is less intimidating than you might think. In fact, it’s an excellent resource for photographers looking to improve their game.

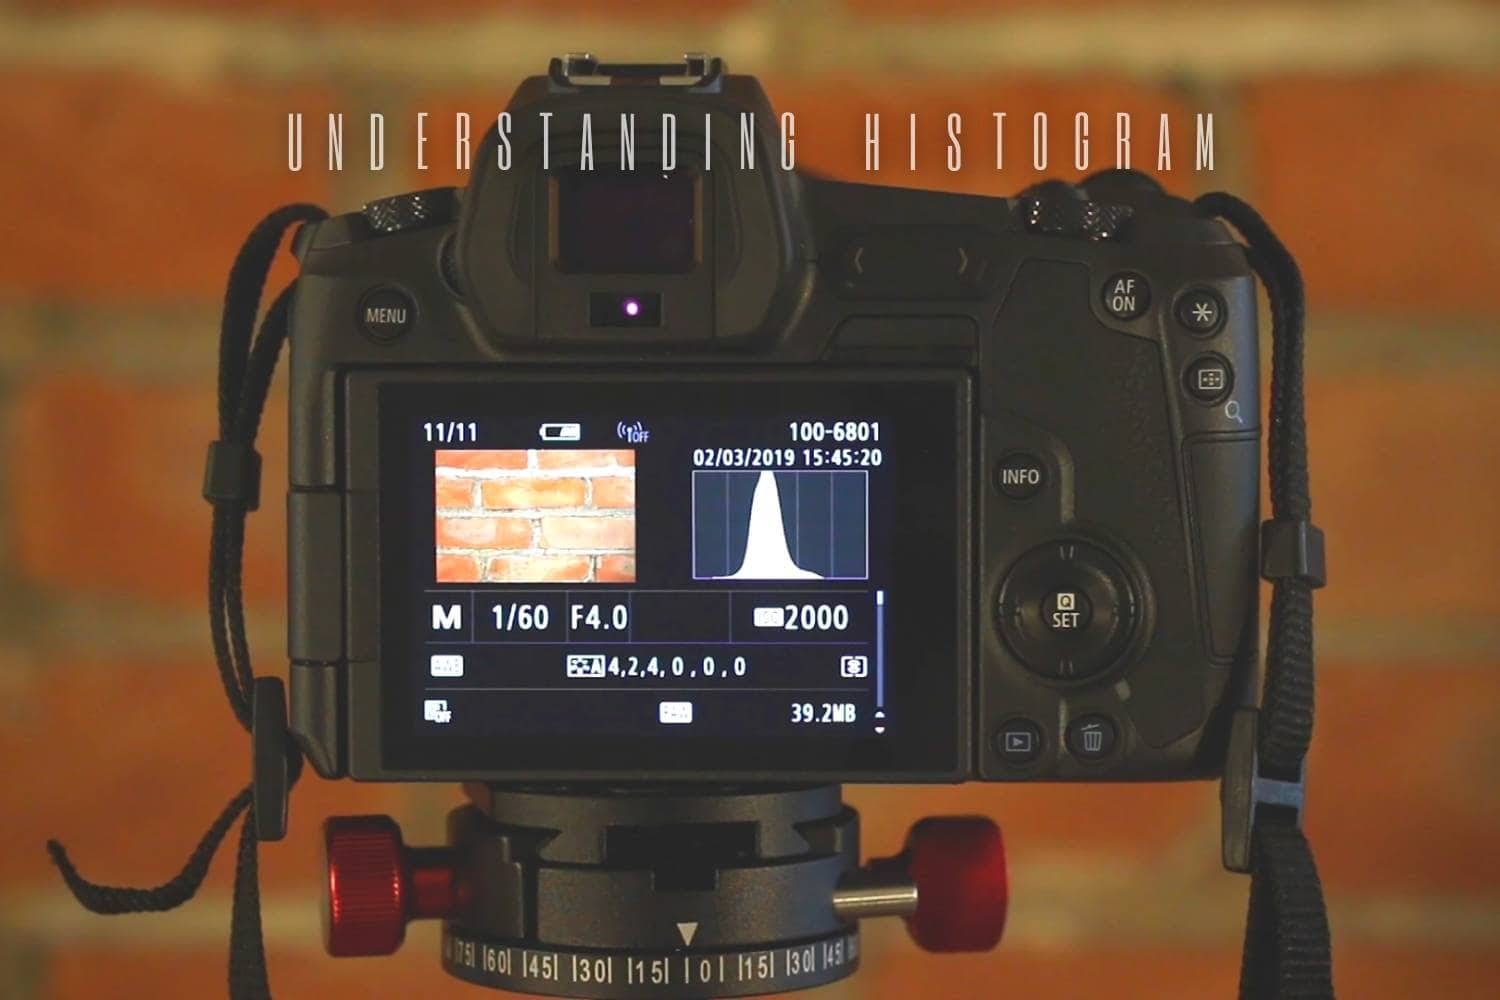
So what exactly is a histogram in photography? It’s a graphical representation of the distribution of brightness levels within a photo. In layman’s terms, it shows how many pixels are in the dark and bright areas of a picture, giving you an accurate overview of the exposure.
The X-axis of the histogram shows the luminance range from left to right, with shadows and blacks on the left and highlights and whites on the right. The middle section represents the mid-tones. Meanwhile, the Y-axis indicates the amount of data collected in each tone. For example, a high spike to the right of the graph means there is plenty of light and bright tones in an image.
You can find histograms in most digital cameras and editing programs. For example, if you use Lightroom, you’ve likely seen a histogram in the upper right corner. Histograms provide valuable insights that can streamline your workflow as a photographer and improve your images.
But how exactly do you use a histogram in digital photography?
Using the Histogram in Digital Photography

Let’s say you’ve just taken a photo of a stunning scene. You’re happy with the result when you check the image on your camera. However, when you open the file in Lightroom, it doesn’t quite match what you saw on your camera’s screen. If this sounds familiar, don’t worry — we’ve all been there.
The reality is that the results you see on your camera can often be misleading due to factors like screen brightness or excessive ambient light. Sometimes, your camera might also get confused when metering exposure, especially in high dynamic range scenes. This can lead to overexposed or underexposed images.
This is where the histogram comes in handy.
The histogram’s shape can tell you how much data is in the shadows, highlights, and mid-tones, even without looking at the image. This means you can detect and correct any exposure errors you may have made. In short, checking the histogram is a quick and easy way to ensure you get the correct exposure. It can save you a lot of headaches in post-processing.
Additionally, you can use the histogram to identify any loss of detail in the bright or dark tones, also known as clipping.
Shadow and Highlight Clipping
Clipping occurs in heavily overexposed or underexposed images. Essentially, it indicates a loss of data when the sensor can’t capture textures in the highlights or shadows.
Clipping is easy to spot on a histogram. If you see pixels touching either edge of the graph, it means there are clipped areas in your image. If it’s on the left side, there’s shadow clipping. If it’s on the right, it’s highlight clipping. Unfortunately, in either case, you can’t recover the lost details.
To avoid clipping, check the histogram while you’re shooting. By doing this, you can identify clipping quickly and adjust your camera settings (shutter speed, ISO, and aperture) to capture a well-exposed image.
What to Keep in Mind

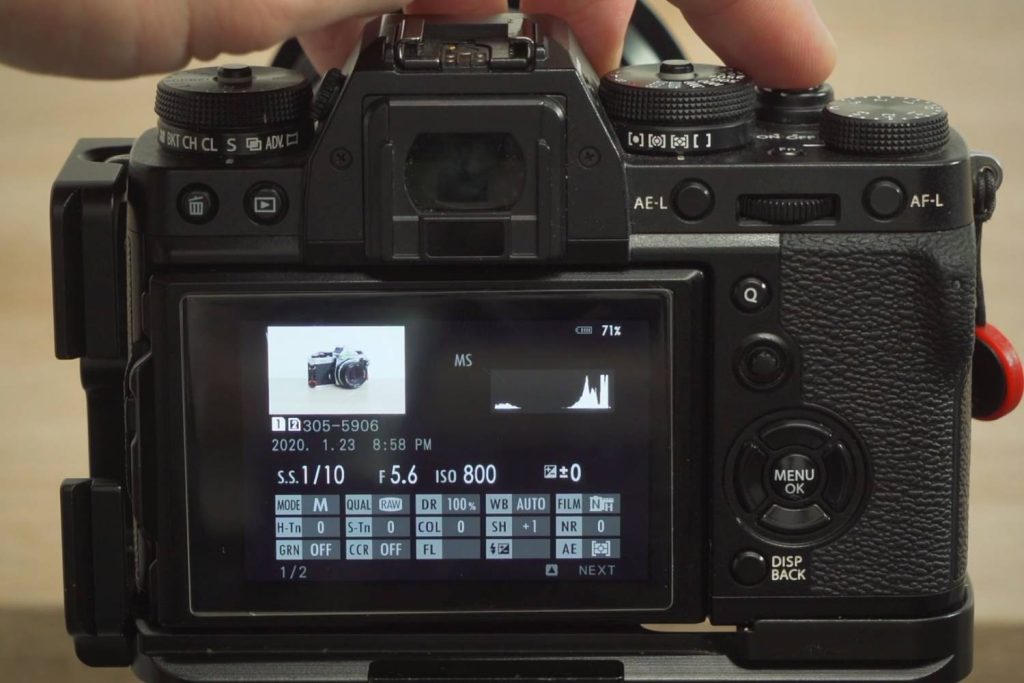
- – Most cameras show the histogram alongside an image you’ve already captured. Some models even feature a live histogram for shooting in Live View mode. Check your camera manual to learn how to access these functions.
- – Always shoot in RAW format so you can recover more details later.
- – Use manual mode for complete control over the exposure.
- – High contrast scenes can be challenging. Depending on what you want to photograph, it might not be possible to get a correctly exposed image in a single take. You might need to do bracketing.
- – For more detailed information, you can check the color histograms. They work just like a traditional histogram but are separated by RGB color channels. They’re useful for determining if you need to make any color adjustments.
Using the Histogram in Post-Processing

The histogram acts as a guide to understand what you need to do to enhance your images in post-processing. It also helps you monitor the impact of your changes on the final result.
For example, if you reduce the exposure in an overexposed image, you’ll see that the right side of the histogram begins to fall and gather more data towards the center.
As you make adjustments, the graph will change shape. This is helpful for seeing how much information you can recover and for avoiding clipping.
To ensure you don’t have clipped areas, Lightroom has two arrows in the histogram’s upper corners that indicate areas of the image with texture loss. The left arrow shows shadow clipping in blue, and the right arrow shows highlight clipping in red.
Remember that you can bring back some details in highlights and shadows to reduce the colored areas, especially if you’re processing a RAW file. However, keep in mind that you can’t retrieve data from pure white or black areas.
What Should a Perfect Histogram Look Like?

There’s no such thing as a perfect histogram. The histogram’s appearance depends on the light and color properties of each scene. However, an ideal histogram should have a balanced distribution of pixels across all areas of the graph, without touching the extremes.
Some photographers might say that a good histogram should be rich in mid-tones. But in some cases, you’ll need more information towards a specific side of the graph to get the most out of a photo or to achieve a specific look. The only “rule” you should follow is to try to avoid clipping. This will give you more data to play with in editing.
Histogram Shapes and Exposure
The shape of the histogram can tell you a lot about how an image looks. Here are some tips to help you read and distinguish some common histogram shapes:
- – Balanced Exposure: This histogram contains the most information in the central area and few pixels towards the edges. As there’s no clipping, you get enough textures in all tones.
- – Low Key Photography: Low key images are quite dark, so the histogram leans towards the left side. It shows almost no information in the bright tones, and there may be some clipping towards the blacks.
- – High Key Photography: Here, the histogram leans towards the right side. It focuses on light tones and highlights and shows few dark tones. In this type of photography, you might have completely white pixels in bright areas like the sky, for example.
- – High Contrast Photos: In this case, you get a lot of information in the shadows and highlights but not in the mid-tones. The histogram usually has a U-shape, and there can be clipping at each edge.
Final Words
In summary, the histogram is a fundamental tool in digital photography that is much simpler than it appears. Using it can save you a lot of trouble and improve your images.
However, remember that it’s only a guide, not an unbreakable rule. Sometimes the shape of the histogram may indicate an excess of pixels to either side, but that doesn’t mean that the image is poorly exposed. Every situation has different requirements, so don’t try to find the “perfect” histogram.
If you found this post helpful, feel free to share it! And for more articles on photography and post-processing, check out our blog and our Photo Editing section.


